
When I first bought my Breville espresso machine, I was excited to elevate my coffee experience. One of the key features that drew me in was the steam wand, which allows me to froth milk to perfection. Steaming milk is essential for making lattes, cappuccinos, and other espresso-based drinks. Over time, I’ve learned the ins and outs of steaming milk with the Breville, and I want to share everything I’ve learned with you in this comprehensive guide. If you're looking to achieve that perfect creamy texture with microfoam, follow these steps, and you’ll be steaming milk like a pro in no time.
Understanding the Basics: How to Steam Milk on the Breville
Before I dive into the steps of steaming milk on the Breville, it's important to understand the role of milk frothing in creating coffee beverages. Steaming milk helps to create two essential things: texture and temperature. The key is to introduce air into the milk while simultaneously heating it to the right temperature. The Breville steam wand is designed to do both, and once you master it, you’ll be able to create a variety of drinks with ease.
Preparing the Milk: A Key Step in How to Steam Milk on the Breville
The type of milk you use plays a significant role in the outcome of your steamed milk. I’ve experimented with various milk types, and the most common choices are whole milk, skim milk, and plant-based options such as oat milk or almond milk. Whole milk is my personal favorite for getting the creamiest texture, as the fat content helps create rich microfoam. However, each type of milk behaves differently when steamed, so be prepared for slight variations.
Here’s how I prepare my milk before steaming it:
- Measure the Milk: The right amount of milk depends on how much foam you want. I generally pour enough milk to fill the milk jug about one-third of the way, as it will expand when you froth it.
- Choose Your Milk: For the best results, I recommend using fresh milk. If you’re using plant-based milk, look for one specifically labeled for frothing, as some options tend to separate or won’t foam as well.
Once the milk is in the jug, it’s time to move on to the next step.
Setting Up Your Breville Espresso Machine: How to Steam Milk on the Breville
Now that the milk is ready, it’s time to set up the Breville espresso machine. The steam wand on the Breville is a fantastic feature that I find easy to use once I understand the basics. Here’s how I get everything ready:
- Turn On the Breville: First, I make sure the Breville machine is powered on. I allow it to fully heat up, which usually takes just a few minutes. The machine should show a green "ready" light when it’s ready to start steaming.
- Insert the Steam Wand: I then attach the steam wand securely to the machine. It’s important that it’s properly aligned, or it may not work efficiently.
- Purge the Steam Wand: Before using the steam wand, I always purge it by briefly turning on the steam function. This helps to expel any water that might have accumulated in the wand and ensures that only steam is used when frothing the milk.
With the Breville machine ready to go, I can now move on to the crucial task of steaming the milk.

Steaming the Milk: How to Steam Milk on the Breville
The process of steaming milk is an art, and it took me some time to perfect it. With the Breville, it’s a relatively straightforward process, but achieving the ideal foam takes practice. Here’s how I steam milk with the Breville:
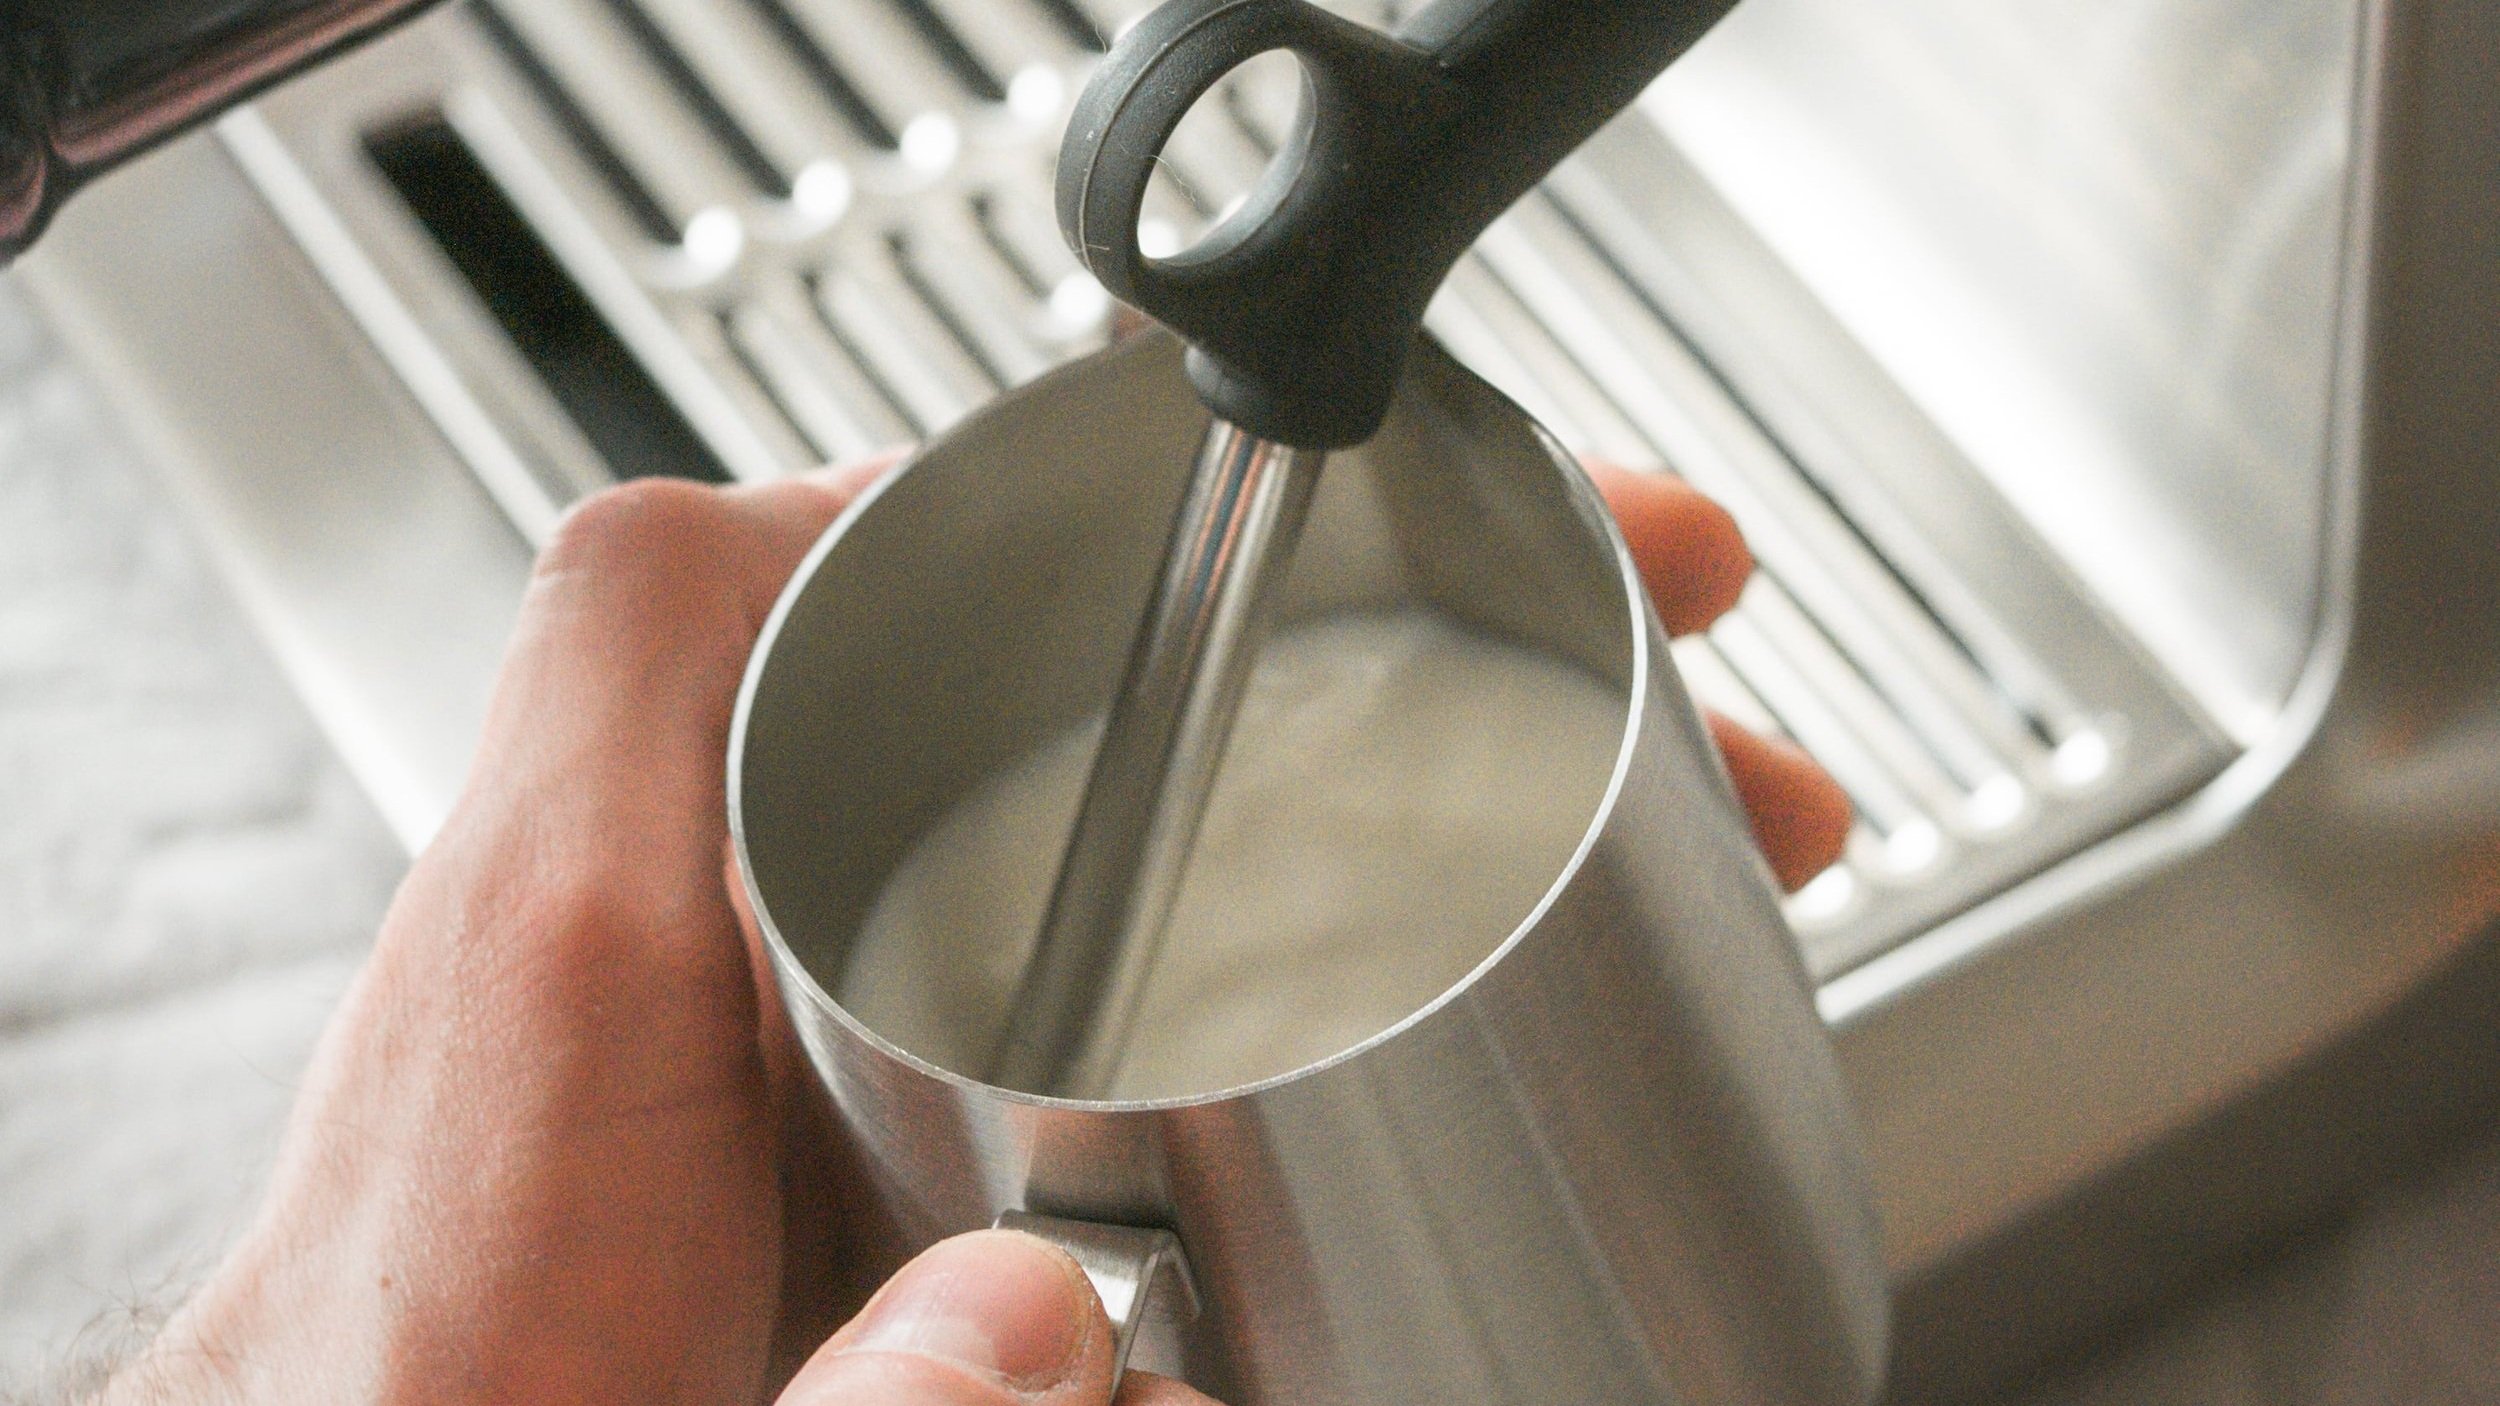
- Position the Steam Wand: I place the tip of the steam wand just below the surface of the milk in the jug. The goal here is to introduce air into the milk without splashing, so I make sure it’s positioned at a slight angle.
- Start Steaming: I then turn the steam function on. Immediately, I hear the sound of the milk being frothed. At this point, I keep an eye on the milk’s texture. I slightly lower the jug to introduce more air when I hear a hissing sound. This helps create that velvety microfoam that is key for a latte or cappuccino.
- Monitor the Temperature: I use my hand to feel the outside of the milk jug. When it becomes too hot to touch comfortably, I know the milk has reached the ideal temperature of around 150°F (65°C). It’s essential to avoid overheating the milk, as it can taste burnt, so I always stop steaming before the jug gets too hot to handle.
Once the milk has reached the desired texture and temperature, I turn off the steam wand. I then wipe the wand clean with a damp cloth to prevent any milk residue from hardening on the wand.
Texturing the Milk: The Final Touch on How to Steam Milk on the Breville
Texturing the milk is a critical step in how to steam milk on the Breville, and it’s what sets a perfectly frothed drink apart from the rest. After steaming the milk, I gently swirl the milk in the jug to incorporate the foam. This helps to create a smooth, silky texture with fine bubbles. The goal is to have a dense, creamy microfoam without large bubbles, which would make the texture too airy.
I also tap the jug lightly on the counter to break any larger bubbles. Swirling and tapping the jug helps to create that glossy, smooth texture that makes for a great latte art base.
Pouring the Steamed Milk: How to Steam Milk on the Breville
Once the milk is properly textured and the temperature is just right, the final step is pouring the milk into my espresso. This is where the fun happens. I carefully pour the milk from the jug into the espresso, starting from the center and slowly working my way outward.
For those looking to add some flair, I’ve started practicing latte art. Pouring the milk at the right angle and speed can create beautiful designs on the surface of the coffee. It’s a skill that takes time to develop, but it’s incredibly rewarding when you finally see your latte art come together.
Troubleshooting Common Issues When Steaming Milk on the Breville
As I continued to experiment with my Breville, I encountered a few common issues that may also arise for others learning how to steam milk. Here’s a quick troubleshooting guide:
- Lack of Foam: If your milk isn’t frothing properly, the steam wand might not be positioned correctly. Make sure the tip is just below the surface of the milk, and adjust the angle if needed.
- Too Much Foam: If you end up with too much foam, it could be due to overheating the milk or introducing too much air. Ensure you stop the steaming process when the jug is hot but not too uncomfortable to touch.
- Burnt Milk Taste: Overheating the milk can result in a burnt taste. If the milk begins to smell burnt or the jug becomes too hot to hold, stop steaming immediately and try again next time at a lower temperature.
Conclusion: How to Steam Milk on the Breville
Steaming milk on the Breville has been an exciting journey for me, and I hope this guide helps you in your own milk-frothing endeavors. The Breville makes it easy to steam milk and create the perfect texture for all your coffee drinks, whether you’re making a latte, cappuccino, or flat white.
With practice, you’ll be able to steam milk to perfection and enjoy professional-quality drinks at home. Just remember to experiment with different milk types, get familiar with your machine’s steam settings, and practice your pouring technique. Before you know it, you’ll be creating your own signature drinks with beautifully textured milk, and the process will feel like second nature.
Frequently Asked Questions (FAQ)
Q: What type of milk is best for steaming on the Breville?
A: Whole milk is generally the best option for creating rich, creamy microfoam due to its fat content. However, plant-based milks like oat or almond milk can also work well if you’re looking for dairy-free alternatives. Look for plant-based milk specifically labeled for frothing, as these are designed to create a better texture.
Q: How do I know when the milk is the right temperature for steaming?
A: The ideal temperature for steamed milk is around 150°F (65°C). To check, you can feel the outside of the milk jug with your hand. When it becomes too hot to touch comfortably, it's usually ready. Alternatively, you can use a thermometer to be more precise.
Q: Why isn’t my milk frothing properly on the Breville?
A: If your milk isn’t frothing, it may be because the steam wand isn’t positioned correctly. Ensure the wand’s tip is just below the milk's surface, angled slightly. Also, check that the milk is fresh and not too old, as older milk tends to froth poorly.
Q: Can I steam milk without a thermometer?
A: Yes, you can steam milk without a thermometer by using the “hand test.” When the jug becomes too hot to touch comfortably, the milk is likely at the ideal temperature of 150°F. Just be cautious not to overheat the milk, as this can cause it to burn.
Q: How can I prevent my milk from tasting burnt when steaming?
A: To avoid burnt-tasting milk, be sure to stop steaming as soon as the milk reaches the right temperature. Don’t leave the wand in the milk for too long, and avoid overheating the milk. If it starts to smell burnt or becomes too hot to handle, it’s time to stop.
Q: What should I do if there are large bubbles in my milk after steaming?
A: If there are large bubbles in your milk, you can gently tap the milk jug on the counter to break them down. Afterward, swirl the milk to ensure it becomes smooth and velvety. Proper technique with the steam wand also helps avoid large bubbles in the first place.
Q: Can I use the Breville steam wand to froth non-dairy milk?
A: Yes, you can froth non-dairy milk like oat or almond milk using the Breville steam wand. However, some non-dairy milks don’t froth as easily as dairy milk, so you may need to experiment with different brands or adjust your steaming technique to get the best results.